
General specifications
The materials, dimensions and construction details behind a Sisu sauna, with the reasons for the details you can see — and the layers you cannot.
Specifications edition 1.0 · 2026-11-01 · Read the archived edition
Made individually
Sisu Sauna products are individually manufactured. Natural variations in timber grain, colour, texture and minor manufacturing details are inherent characteristics of the materials and production process, provided they do not materially affect the product's agreed appearance, structural integrity, safety, performance or intended use.
Photographs and showroom displays are illustrative unless expressly incorporated into the agreed specifications.
Material changes to agreed specifications require customer approval.
A guide to our custom-built saunas. Your confirmed quotation, approved drawings and equipment manuals define your particular build. Options and construction vary by model; imported shop products follow their own product specifications.
Wood & board sizes
We use real timber. Species, grain, knots and colour vary between boards; the wood and finish selected in your quotation determine the appearance of your sauna.
| Wall & ceiling cladding | Nominal 12 mm thick on the standard insulated panel build. Board width and profile depend on the selected timber. |
|---|---|
| Floorboards | Finished thickness 15 ±1 mm, nominal width 90 mm, with standard gaps of 3 ±1 mm. |
| Bench boards | Finished thickness 15 ±1 mm, nominal width 90 mm, with standard gaps of 3 ±1 mm. Layout, supports and board lengths follow the bench design. |
| Barrel shell staves | Teak barrel staves are nominally 45 × 70 mm. Sizes for other wood species follow the selected model. The curved solid-timber shell forms the side walls and roof; it is a different construction from an insulated panel cabin. |
Floor and bench board thicknesses are finished dimensions with the stated ±1 mm tolerance. Other nominal profiles may vary after machining; decorative trim and indoor frames can use different sections.
Walls, steel frame & plywood
The standard insulated cabin wall is a nominal 100 mm sandwich panel. The frame and insulation share the same core space; their thicknesses are not added together.

| Outside → inside | 12 mm timber + 13 mm plywood + 50 mm insulated frame core + 13 mm plywood + 12 mm timber = 100 mm nominal. |
|---|---|
| Insulation & vapour control | 50 mm mineral-wool insulation in the standard insulated walls and ceiling, with a foil vapour barrier on the hot side. The insulation limits heat loss; the foil helps control moisture entering the structure. |
| Steel frame | The standard blueprint specifies welded galvanized 50 × 50 mm box steel with a nominal 1.5 mm wall thickness, and wall studs at 600 mm centres. Other frame options and barrel end caps use different sections; the approved model drawing defines the supplied frame. |
| Plywood | Grade A plywood is used throughout. The standard steel wall core has 13 mm plywood on both faces. Indoor timber-frame variants can use 9 mm outer plywood and 6 mm backing where specified. Plywood stiffens the panel and supports the finish; it is not the exposed bathing surface. |
Indoor timber-frame rooms, barrel shells, glazed walls and custom assemblies have their own build-ups. Any specific adhesive class or special treatment required should be recorded in the quotation; these are separate from the plywood grade and thickness.
Why the wall layers matterFloor, ceiling & roof thickness
| Standard raised floor | 50 mm steel floor frame + 15 mm timber floorboards = 65 mm nominal, excluding feet, levelling and the site foundation. The board surface and overall floor height are different measurements. |
|---|---|
| Insulated ceiling | The standard system uses 50 mm framing/insulation and nominal 12 mm interior ceiling cladding. Backing, upper decking and the weather roof depend on the model; these figures alone are not the total roof thickness. |
| Outdoor weather roof | Our metal roofs use galvanized roofing sheets, mainly BlueScope brand, fixed with Class 3 screws. Shingled models have a different roof assembly. Confirm the sheet thickness, deck, slope, overhang and total height on the approved drawing. Indoor cabins do not automatically include an outdoor weather roof. |
| Barrel roof & end caps | The teak barrel shell is nominally 45 mm thick; shell thickness for other timbers follows the selected model. A separate roof covering, if selected, adds to this. Standard timber end caps use a different nominal 88 mm build-up: 12 + 13 + 38 + 13 + 12 mm. |
Intentional gaps & why they are there
A sauna is built to breathe, drain and move with heat and humidity. These deliberate openings serve different purposes and should stay clear.

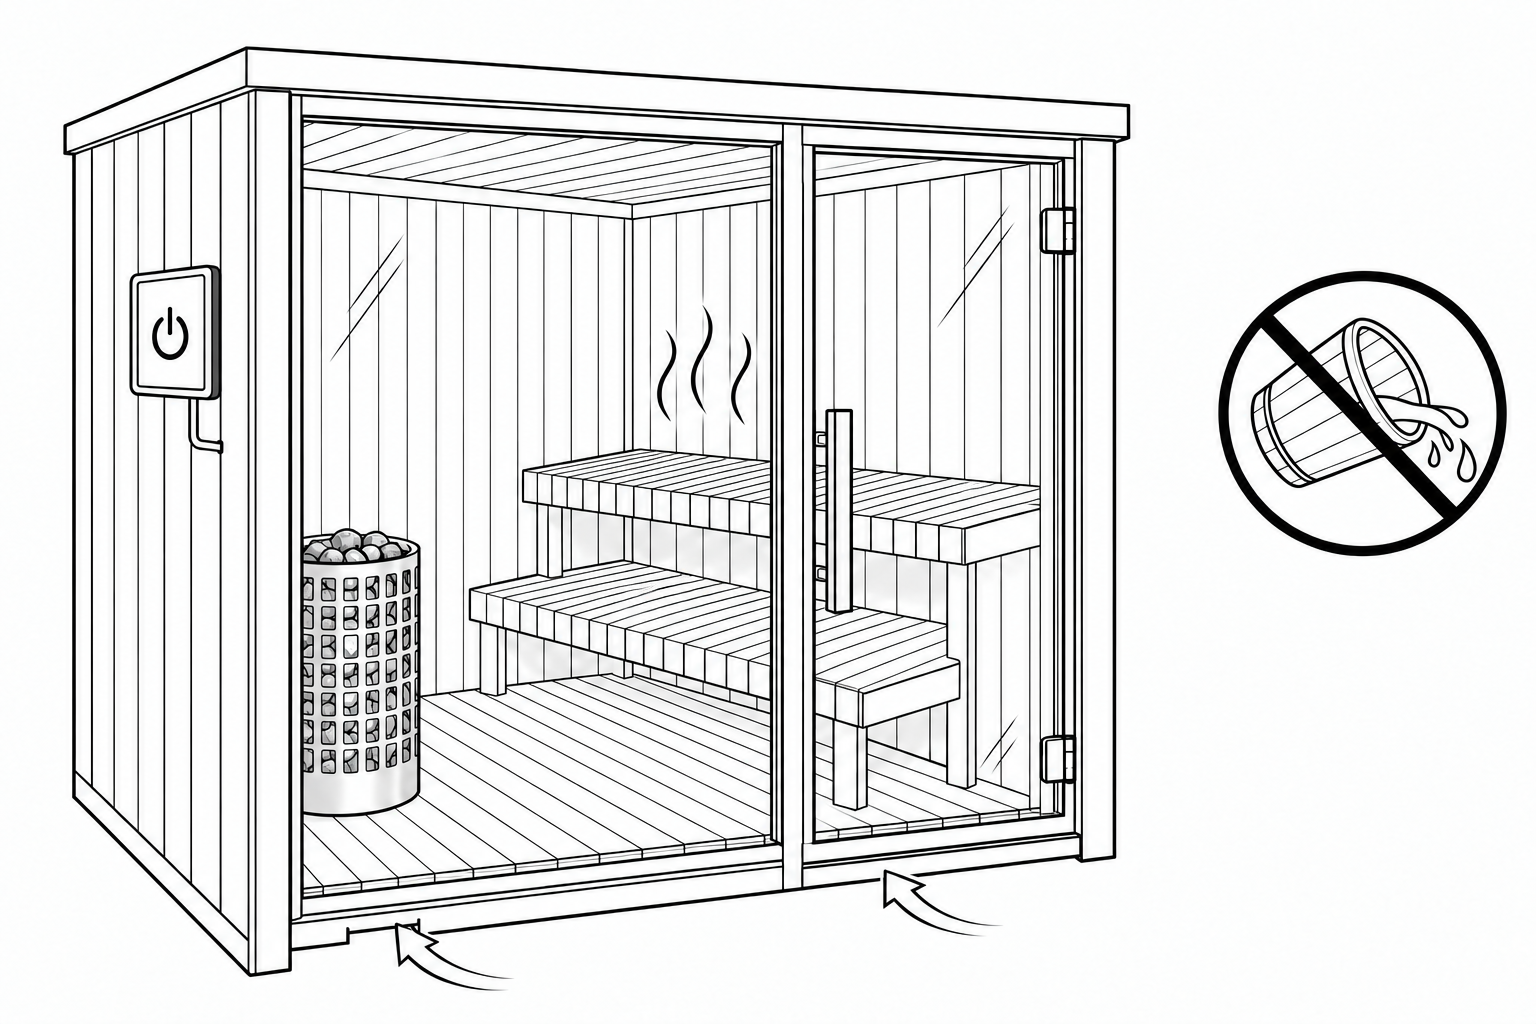
| Floorboard gaps: 3 ±1 mm | Allow water to pass through, help the boards dry and leave room for timber movement. On our raised-floor designs they also form part of the low-level air path. The space underneath must remain open to the intended drainage and ventilation route. |
|---|---|
| Barrel floor gap | Barrel saunas also include a deliberate floor gap for ventilation and drainage. It allows air to pass and water to drain out. Keep the opening and the drainage route beneath the barrel clear. |
| Bench-board gaps: 3 ±1 mm | Let air circulate around the slats, help water escape and allow the wood to dry between sessions. The ±1 mm tolerance allows small variations between individual gaps. |
| Under the door: nominal 30 mm | The current framed-door blueprint provides a 30 mm low-level air opening, with 10 mm working clearance at each side and above the door. Keep the under-door opening clear of trim, towels and draught strips. Follow the approved door drawing for the selected model. |
| Fixed-glass expansion clearance | The current framed-glazing blueprint specifies 10 mm clearance at the wall and a fixed pane cut 15 mm shorter than the finished opening. These allowances protect the glass edge as timber moves. They are separate from the approximately 1 mm joint between adjoining fixed panes and the working clearances around an opening door. |
Floor gaps do not make the room underneath waterproof. Indoor installations need a suitable water-resistant base and a planned drainage and ventilation arrangement. Do not seal designed gaps or change the air route without checking with Sisu.
Read about floor & door gapsGlass, doors & fittings
We specify monolithic tempered safety glass. Current residential glazing is nominally 10 mm and commercial glazing 12 mm; the model and approved glass schedule determine the supplied thickness, tint and panel sizes.
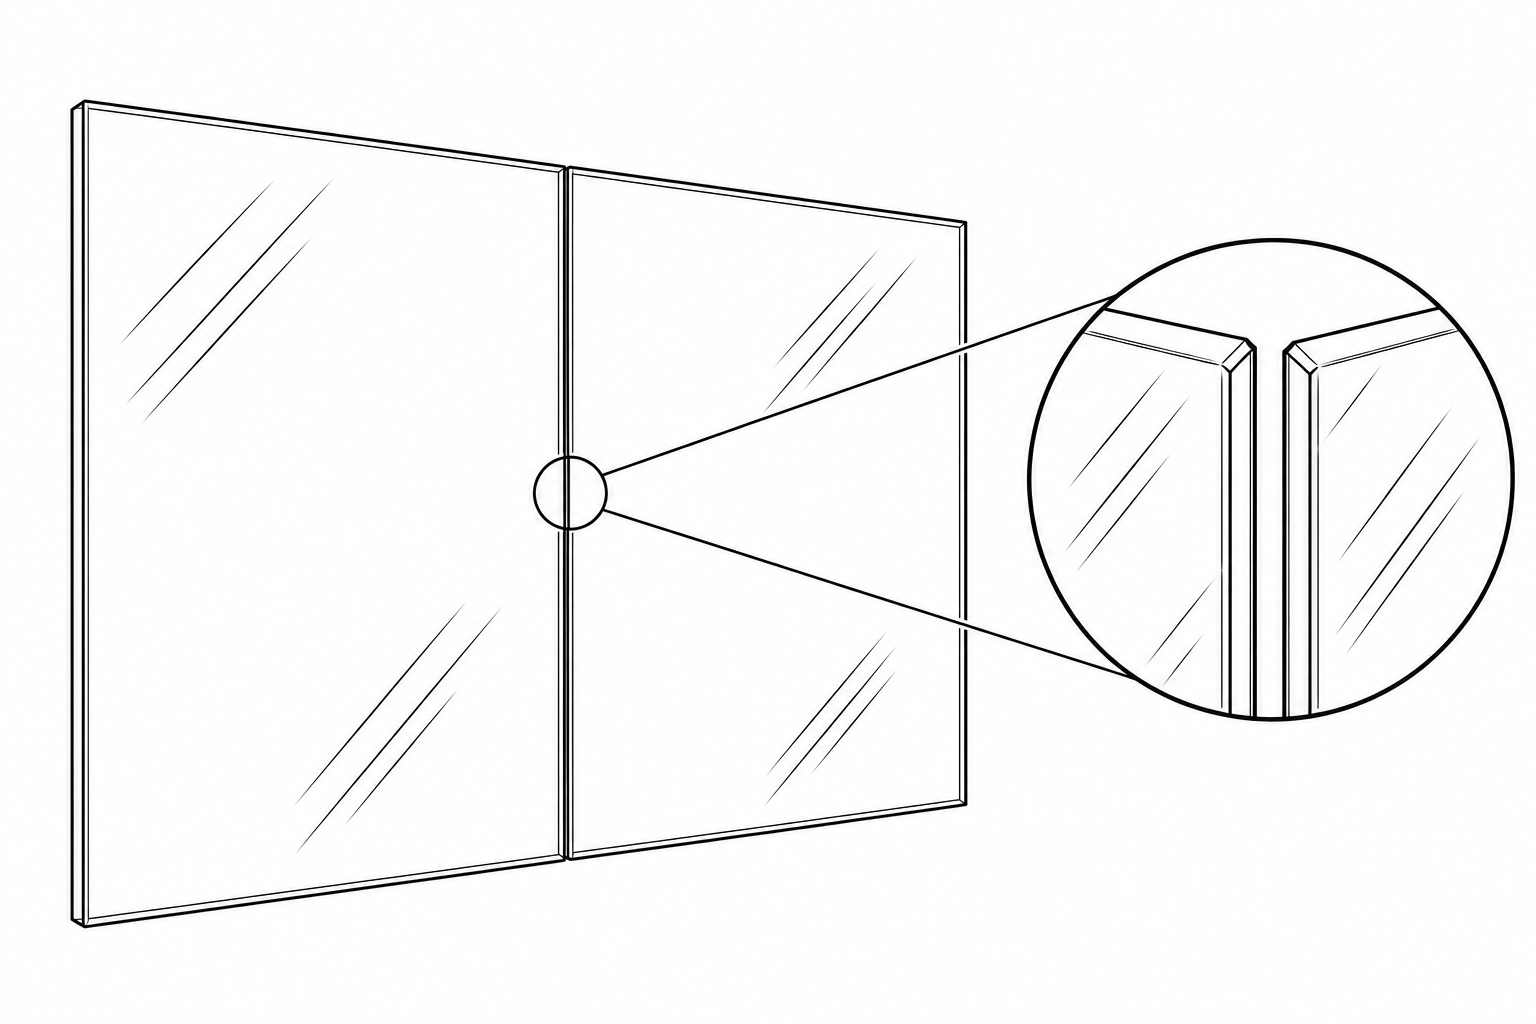
| Between glass panes: approximately 1 mm | We leave an approximately 1 mm gap between adjacent glass panes and do not use silicone sealant between them. This fine joint is an intentional part of the glazing design and gives the glass a clean appearance. Leave the joint open. It is separate from the larger, concealed expansion clearance between glass and the timber frame. |
|---|---|
| Tint & dimensions | Clear and tinted options follow your order. Glass tint can look different with lighting and background. Panels are made to the approved openings, not cut from a finished tempered pane on site. |
| Edges & hardware | Glass doors use SW304 type hinges. Hinges, handles and supports must match the glass thickness and door weight. Protect edges from impact and rigid contact. If an edge is chipped, or fittings become loose, stop using the door and arrange an inspection. |
Dimensions & normal variation
Our assembled sauna cabins have an overall dimensional tolerance of ±10 mm, as specified in the confirmed quotation and approved drawings. Any tighter installation requirements must be agreed before production. Hand assembly, machining and natural timber movement can produce small differences from nominal dimensions.
| External vs internal size | The footprint, usable room size, eaves, feet and roof height are separate measurements. Allow for handles, door swing, delivery access and service access when planning the location. |
|---|---|
| What ±10 mm does not cover | Floor and bench board thicknesses and gaps use their stated ±1 mm tolerances, not ±10 mm. Glass cutting sizes, electrical requirements, heater safety distances and other designed ventilation gaps follow their own drawings and equipment requirements. |
| Agreed specification & consumer rights | The ±10 mm figure is Sisu’s manufacturing specification, not a claim of a statutory allowance. It does not excuse unsafe work, failure to meet an agreed fit requirement or defects affecting the intended use, and does not remove applicable consumer rights. |
Legal context: Civil and Commercial Code section 503 requires goods sold by description to match that description; section 472 addresses defects affecting value or fitness for ordinary or contractual use. Section 4 of the Unfair Contract Terms Act B.E. 2540 limits unfair terms to what is fair and reasonable.
Heater & internal electrical wiring
The quotation identifies the heater, power rating and control system. Heater selection takes account of room volume, insulation and glazing. Power in kW alone does not decide whether the incoming supply is single-phase or three-phase.
| Electric heater range | Current catalogue options: Standard Electric and Black Prism 3–9 kW; Nest models up to 15 kW; Silver Cylinder 3–18 kW; Sisu Commercial 9–24 kW. Available power steps and controls vary by model. Confirm the selected model and rating in your quotation. |
|---|---|
| Hot-zone wiring | Heater connections and other wiring exposed to sauna heat require cable and accessories approved for the actual temperature and equipment, such as the specified heat-resistant silicone or rubber cable. Ordinary PVC building wire is not a substitute in the hot zone. |
| Cable size & routing | Conductor size, core count, temperature rating and protection follow the heater manual, circuit load, cable route and installation conditions. There is no single wire size for every sauna. General wiring, power supplies and normal switchgear belong outside the hot cabin. |
| Earthing, sensors & commissioning | Provide protective earthing and model-specific overtemperature protection. Locate sensors and sauna-rated lighting as instructed. A qualified electrician must verify the supply, protection, connections and operation before use. |
| Stones & safe distances | Use the stone type, size, quantity and stacking method specified for the heater. Maintain its required distances to wood, benches and guards. Keep the heater clear of towels and other objects. |
The customer’s incoming building supply and the sauna’s internal heater wiring are separate parts of the installation. Confirm who supplies and connects each part before delivery.
First heating & sauna stones
Natural sauna stones may have hidden internal cracks or weak points. As they heat, some can split or shed small hot fragments with a loud crack or pop. An initial heating cycle must be completed before the first bathing session.
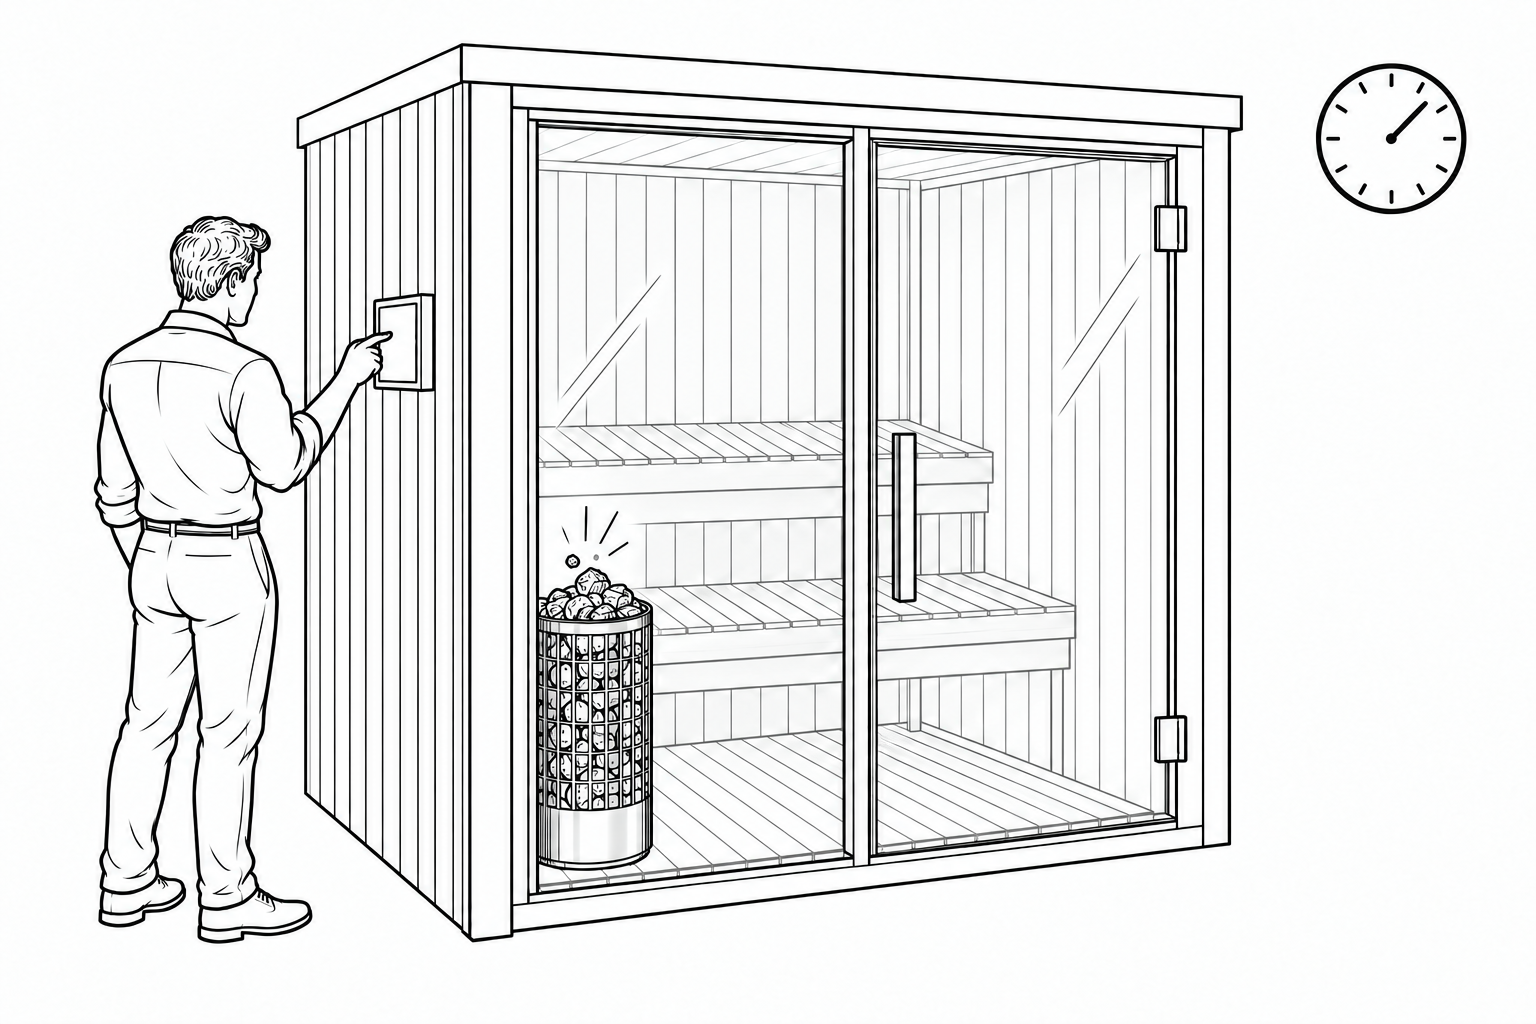
| Sisu electric-sauna initial heat cycle | For Sisu electric saunas whose heater and stone instructions permit this procedure, set the sauna temperature to approximately 80°C and run it empty for one hour. Follow the supplied heater and stone manuals if they require a different temperature, duration or staged heating sequence. This procedure does not replace electrical commissioning. |
|---|---|
| Inspect after cooling | Switch the heater off and let the heater and stones cool completely before inspection. Remove loose fragments and replace cracked or crumbling stones before bathing. Ask Sisu for help if you are unsure about the condition of a stone. |
| Cracking can happen again | The initial heat cycle is a first-use precaution, not a guarantee that stones will never crack again. Heating and cooling gradually wear the stones during normal use, and newly replaced stones need the first-use procedure specified for them. Inspect and maintain the stone load regularly. |
Ventilation, drainage & installation space
| Air around the cabin | For indoor cabins, leave at least 25 mm between the cabin sides and surrounding walls for air circulation. Equipment, maintenance and fire-safety requirements may need larger distances; this is not a heater clearance. |
|---|---|
| Base & drainage | Provide a stable, level base suited to the completed sauna and its occupants. Water passing through the timber floor needs a safe route away. Do not enclose the underfloor air path or allow water to pool against the frame. |
| Natural drying during cooldown | After the heater is switched off, the sauna’s remaining heat and built-in ventilation support a natural drying cycle. Keep the floor and door ventilation gaps clear. Do not add water to the stones or wet the sauna interior during cooldown: the retained heat is needed to dry the room. Allow this drying period after every use. |
| Indoor moisture management | The surrounding room also needs ventilation. During and after the sauna’s cooldown, remove moisture from the surrounding room with suitable fresh-air exchange, extraction or dehumidification for the local conditions. |
Timber ageing, finishes & care
Timber changes with time. Sunlight, heat, moisture and use can deepen, fade or grey its colour. Different boards may change at different rates; a new board may not match timber that has already aged.
| Movement & surface checks | Small changes in board spacing, grain texture and fine surface checks can occur as timber absorbs and releases moisture. Persistent wetness, soft wood, loose supports, sharp splinters or a door that binds should be inspected. |
|---|---|
| Finishes | Interior and exterior finishes have different jobs. Use only the products agreed for the surface and sauna conditions. Do not apply ordinary paint or varnish to hot interior seating or cladding without checking suitability. |
| Routine care | Use a seat towel, clean gently with suitable products and allow the sauna to dry between sessions. Keep floor gaps clear and inspect fittings regularly. Do not pressure-wash the interior or soak the wall panels. |
Natural appearance changes do not remove your rights concerning defects or the warranty stated in your order and our Terms & Conditions.
Sauna cleaning & care guideConfirm the details for your sauna
For a tight alcove, special finish or an exact electrical schedule, ask us to record the requirement in your quotation before production.
Ask before you approve
You must ask Sisu for clarification if you do not understand any specification, drawing, material, dimension, gap or installation requirement. Resolve your questions and have any special requirement confirmed in writing before approving the quotation and drawings or authorising production. Do not rely on assumptions or expectations that have not been confirmed by Sisu.
We build to the confirmed quotation, approved drawings and specifications agreed in writing. Sisu is not responsible for misunderstandings based on unconfirmed assumptions that differ from those documents. Free alterations or rebuilding to meet such assumptions are not included. Any requested change must be agreed separately and may involve additional cost and production time.
This does not limit your applicable consumer rights or our responsibility for defects or a sauna that does not meet the agreed specification.