Built for Your Sauna, Not Just Any Sauna
This article is for those who wish to assemble our custom sauna themselves.
When you order a custom sauna from Sisu Sauna, you are not getting a flat-pack from a warehouse shelf. Every build is designed around your space, your chosen wood, your heater size and your layout. It follows, then, that the assembly guide should be just as specific — and it is.
Instead of a generic booklet stapled to the pallet, every sauna we ship comes with an interactive assembly manual generated for your exact build. The steps, diagrams and measurements in your manual reflect the actual dimensions, materials and components that arrive at your door. Nothing is crossed out, nothing is labelled "not applicable" — the whole document is yours.
What the Interactive Manual Covers
The manual walks you through the full assembly sequence in a logical order, so you are never guessing what comes next. Broadly, it covers:
Foundation and placement — where to position the sauna, clearance requirements (minimum 25 mm around a built-in sauna), and how to check the surface is level and can bear the load.
Wall panels and framing — how the wall stack goes together, including the interior cladding, plywood layers, rockwool insulation, vapour barrier and exterior cladding, in the correct order for your build.
Roof assembly — fitting BlueScope galvanised steel roofing (or asphalt shingles if you chose that option) and ensuring the structure is weatherproofed before any interior work begins.
Door and glass installation — hanging the door correctly, aligning glass panels and checking seals.
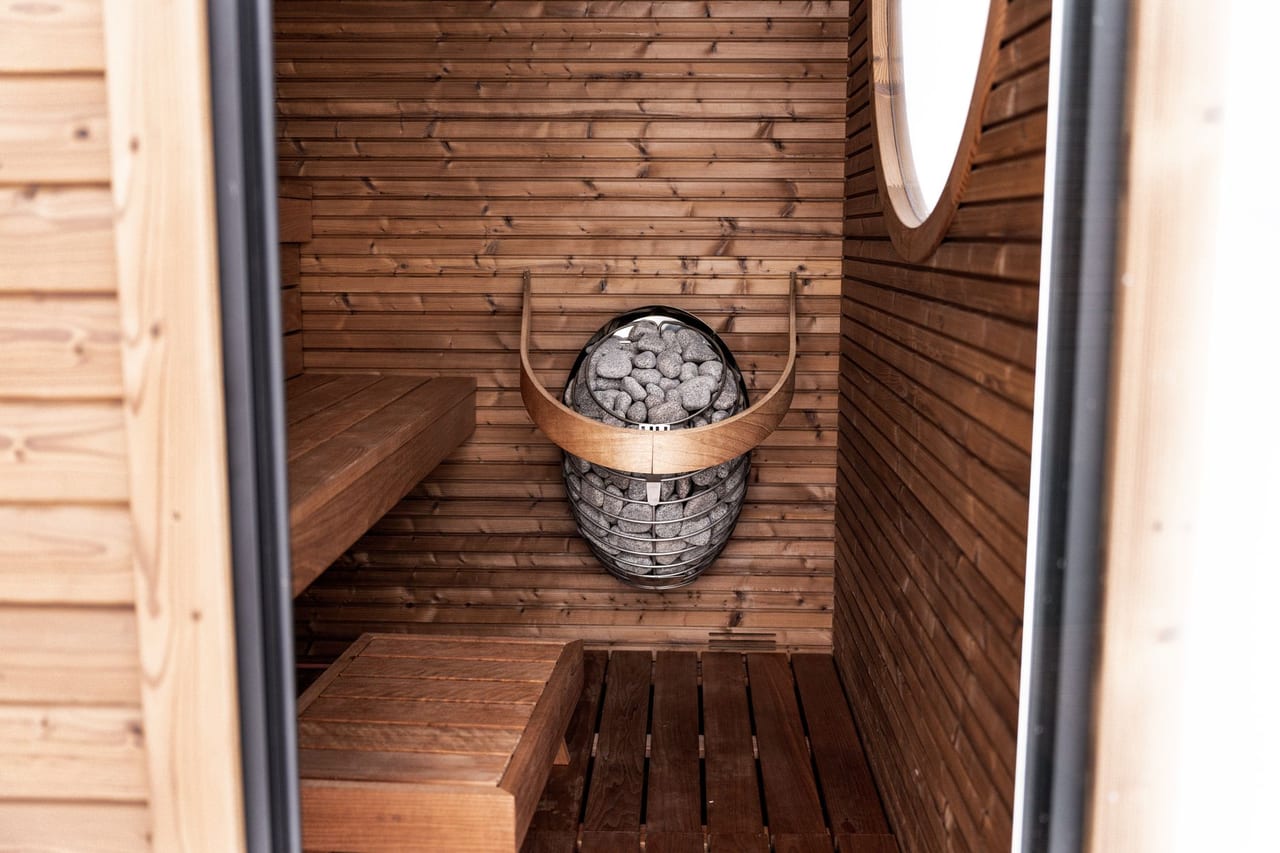
Heater placement and electrical connection — your manual notes the exact kW rating of your heater and whether your supply is single-phase (standard for 3–9 kW) or three-phase (larger commercial units above 9 kW). It does not give generic wiring instructions; it gives yours.
First heat-up checklist — what to check before switching on, how to run the first session and what is normal.
Want to See an Example First?
You do not have to wait until you place an order to understand what the manual looks like. We publish a default example assembly manual so you can browse the format, the level of detail and the step-by-step structure before you commit to anything. The example gives a clear picture of how your own manual will be laid out — just swap the generic dimensions for yours.
Remote Support Throughout Your Build
For customers outside Thailand, we deliver the sauna as a kit with this interactive manual and remain available for remote support throughout the build. If a step is unclear, a photograph is confusing, or something does not line up the way the diagram suggests, you can reach us on LINE or WhatsApp and we will help you work through it — the same team that designed and built your sauna.
Within Thailand, we offer full installation as standard, so our team handles the assembly on-site with you. Either way, you are not left to figure it out alone.
A Few Practical Tips Before You Start
Whether you are assembling yourself or supervising a local crew, these habits make the process smoother:
Read the full manual once before touching anything. Understanding the complete sequence before you pick up a tool prevents mistakes that are awkward to undo mid-build.
Check every component against the delivery list. Inspect everything on arrival and report any damage or missing parts to us in writing within 7 days of delivery — this is important for warranty purposes.
Have enough hands. For larger sauna kits, you need at least 3 able helpers for unloading and panel placement. Wall panels are heavy and awkward for one or two people.
Prepare the site before delivery day. The foundation should be level, cleared and accessible. Make sure any electrical supply is roughed in and ready for the heater connection.
Keep the manual open on a device. The interactive format means you can zoom, tap and navigate sections on a tablet or phone — far more useful on a build site than a paper booklet.
The Logic Behind a Custom Manual
Generic assembly guides frustrate people because they are written for an average product that matches no one perfectly. When your sauna is 2.4 m × 1.8 m in red cedar with a 6 kW heater and a corner bench layout, your manual should say exactly that — not "refer to your chosen configuration." That specificity is what makes assembly go smoothly, reduces errors and means the finished sauna performs the way it was designed to.
If you have not yet started designing your sauna, our 3D designer lets you choose size, wood and heater and see a live price. Once you confirm your order and the deposit is received, production begins — and your custom manual is generated alongside your build.