
Should You Build a Sauna Yourself or Hire Someone?
Let’s clarify something first: “building a sauna” can mean very different things.
On one end, you’re putting together a pre-made kit with tongue-and-groove panels that fit together like furniture. Two people with basic tools can do this in a day or two. The hard work is done for you, so you’re mostly following instructions.
On the other end, you’re designing and building a sauna room from scratch. This means handling framing, insulation, vapour barriers, choosing timber, placing the heater, and planning ventilation. You’ll need solid construction experience or professional help for this.
Most people in Thailand fall somewhere in the middle. They want a quality sauna without the complexity (or cost) of a fully custom build, but they also want something better than a cheap portable unit from Lazada.
For what it’s worth, I’ve seen many handy expats put together kit saunas on their own. I’ve also seen people realise it’s more work than expected and call in contractors. Either way is fine; what matters is being honest about your skills and time.
What Are the Different Ways to Get a Sauna at Home in Thailand?
Here’s how most people in Thailand end up with a home sauna:
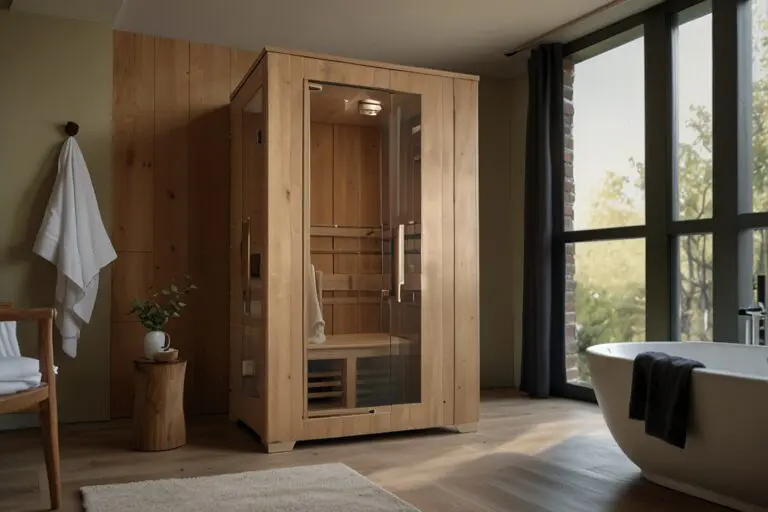
Kit Saunas (DIY Assembly): Pre-manufactured panels that arrive flat-packed. You provide the space and electrical connection, then assemble the cabin yourself. Assembly typically takes 4-8 hours with two people. These work well for infrared saunas and smaller traditional cabins. Starting prices range from ฿90,000 to ฿ 150,000, depending on size and type.
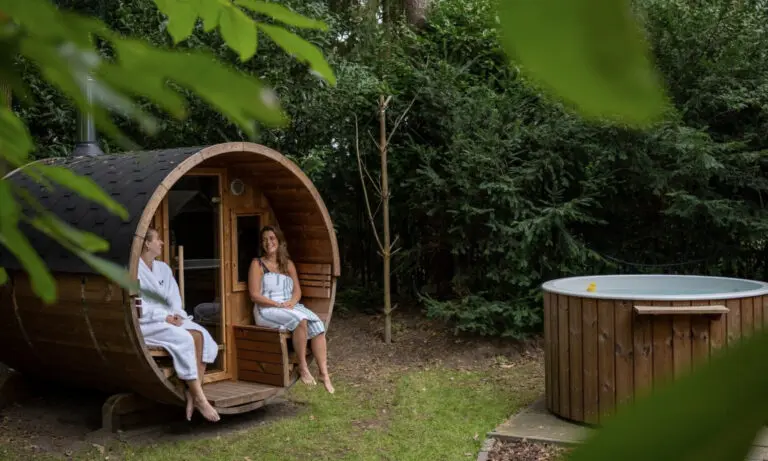
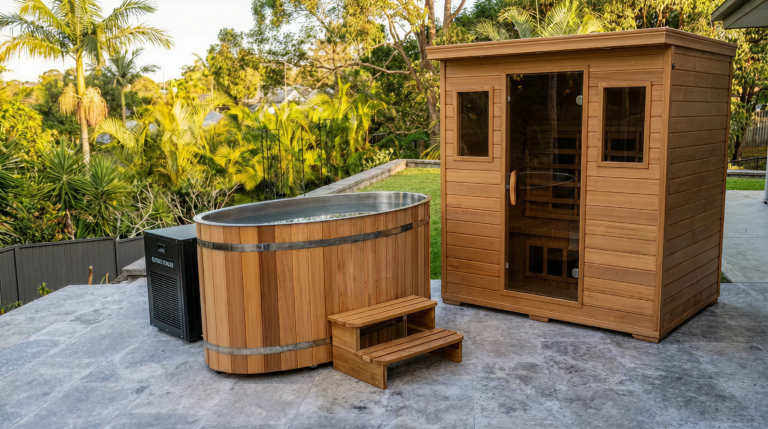
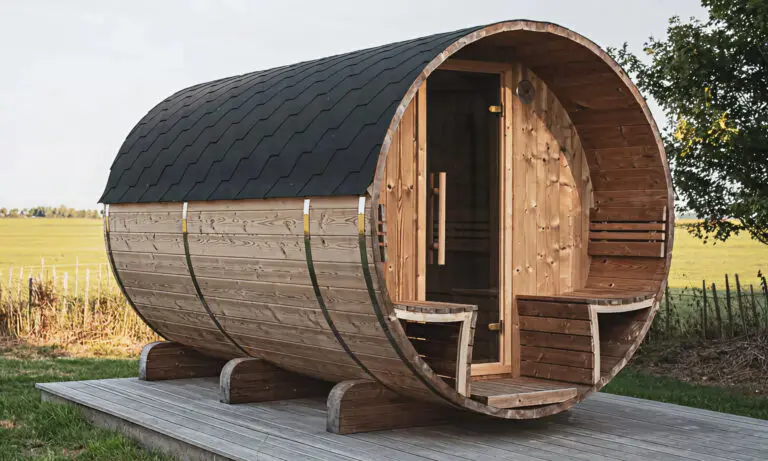
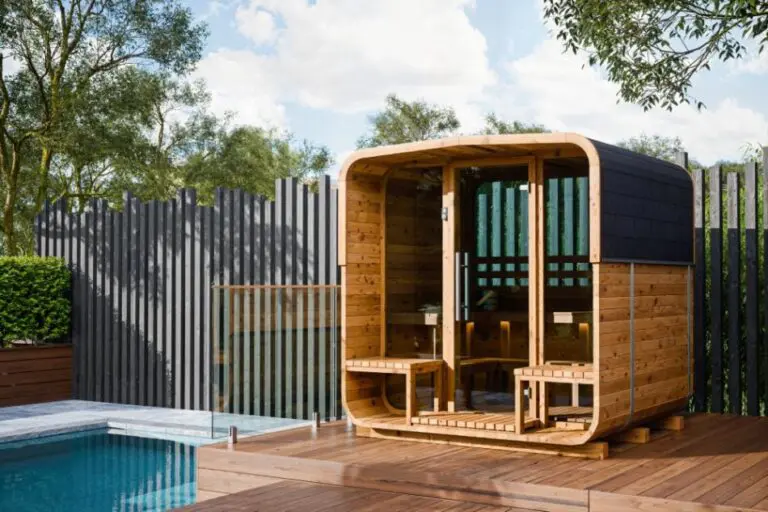
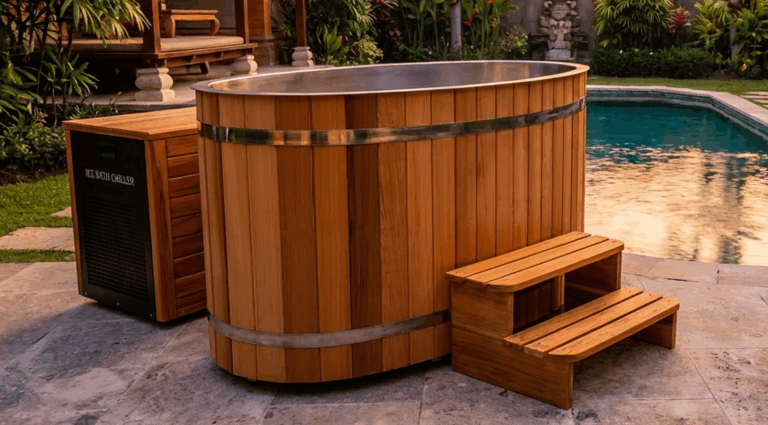
Barrel Saunas: These come as kits but need more assembly, including curved staves, metal bands, and roofing. Most people hire local help for a day or two. They look great outdoors and work well in Thailand’s climate because their shape helps air circulate naturally. Budget ฿150,000-350,000 depending on size and timber.
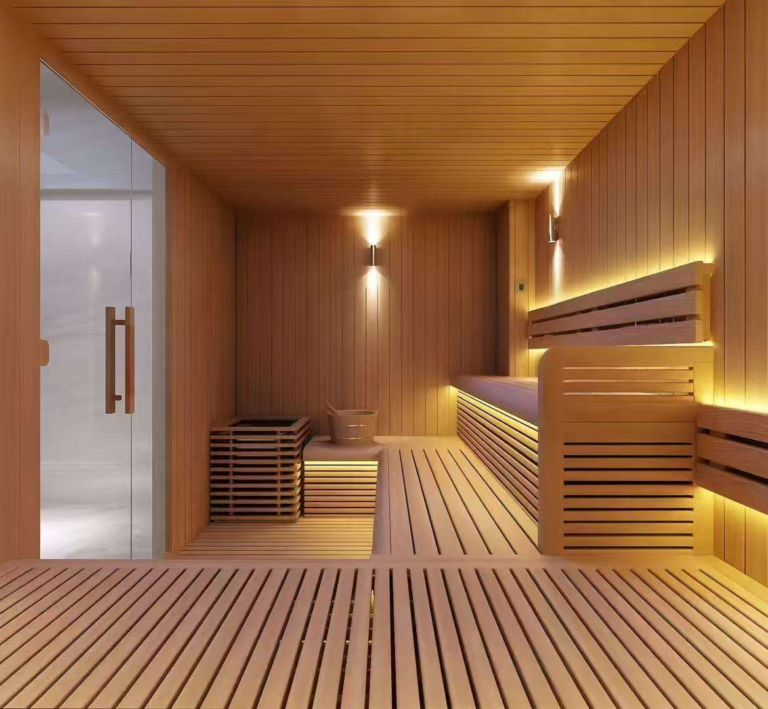
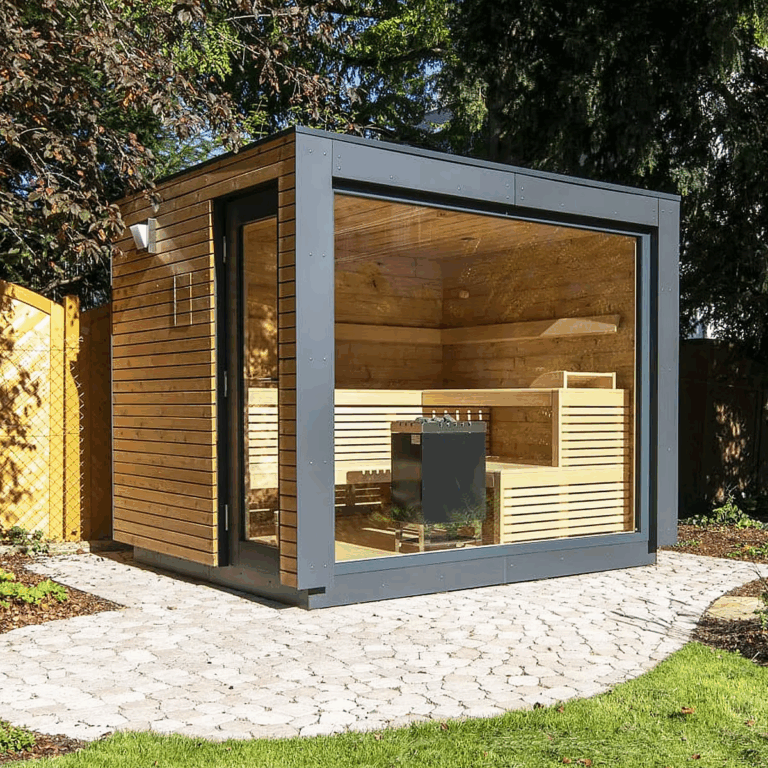
Custom-Built Saunas: Designed and constructed on-site to fit your exact space. Built-in sauna rooms in bathrooms, pool houses, or dedicated wellness spaces. Requires professional installation. Budget ฿250,000-800,000+ depending on specifications.
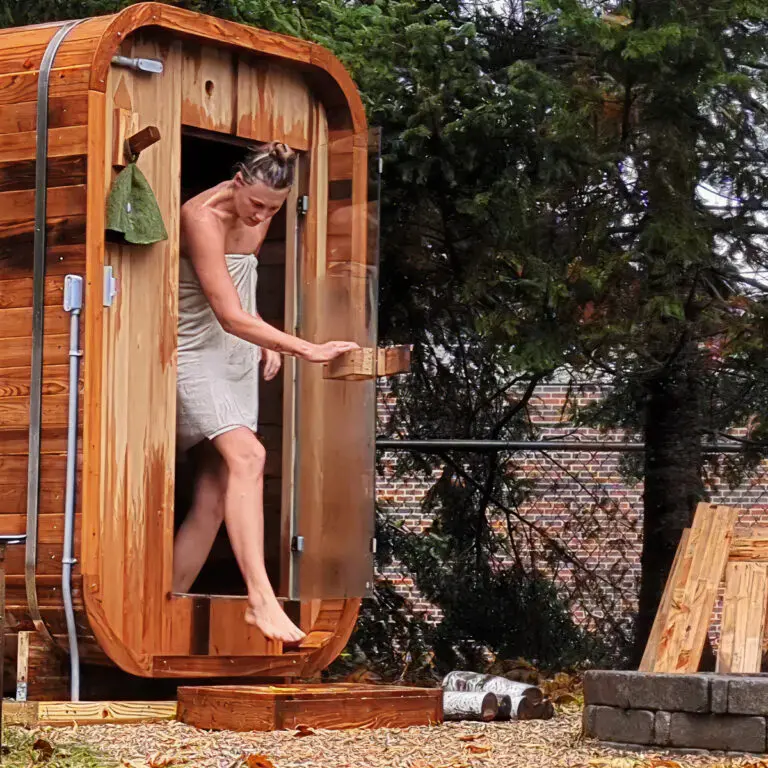
Portable/Tent Saunas: These are the budget choice, using fabric enclosures with small heaters. They’re okay for occasional use, but they won’t last in Thailand’s humidity and don’t offer the same experience as a real cabin. ฿15,000-50,000.
What Do I Need to Consider Before Building in Thailand’s Climate?
Thailand’s tropical climate creates specific challenges that you won’t find in sauna guides written for Scandinavia or North America.
Humidity is the main issue. Bangkok’s average humidity is about 70-80%. This moisture will find any weak spots in your sauna, such as untreated timber, poor ventilation, or poor drainage. Materials that work well in dry places can fail quickly here. Differential matters too. When you’re heating a sauna to 80-90°C in ambient temperatures of 30-35°C, you’re not working as hard as someone in Finland starting from -10°C. But you are dealing with more moisture in the air and more potential for condensation when the sauna cools.
Termites are active year-round in Thailand. Any timber touching the ground or in contact with moisture becomes a target. Treatment and timber selection are non-negotiable here.
UV exposure breaks down untreated timber quickly if your sauna is outside. The Thai sun is harsh, so expect to protect or maintain exterior surfaces.
Monsoon considerations apply to outdoor saunas. Drainage, roof overhangs, and weatherproofing need to withstand heavy rainfall between May and October.
None of these challenges is insurmountable. They just require planning upfront rather than discovering them after installation.
Where Should I Install My Sauna?
Indoor vs outdoor is your first decision.
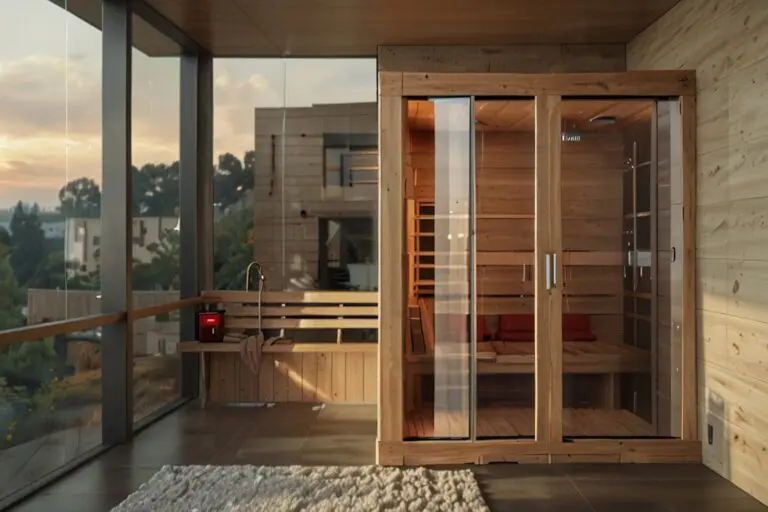
Indoor installation offers climate control, easier electrical connections, and protection from the weather. You’ll need adequate ventilation to handle the humidity and heat. Bathrooms are popular locations because drainage and waterproofing are already in place. Spare rooms work if you can add appropriate flooring and ventilation.
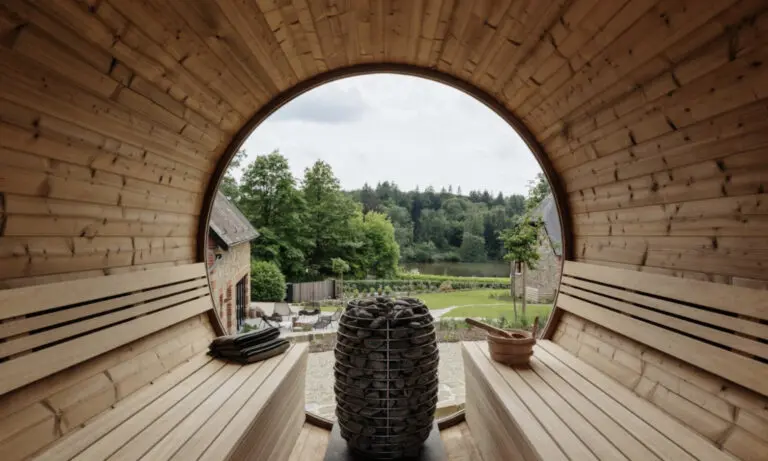
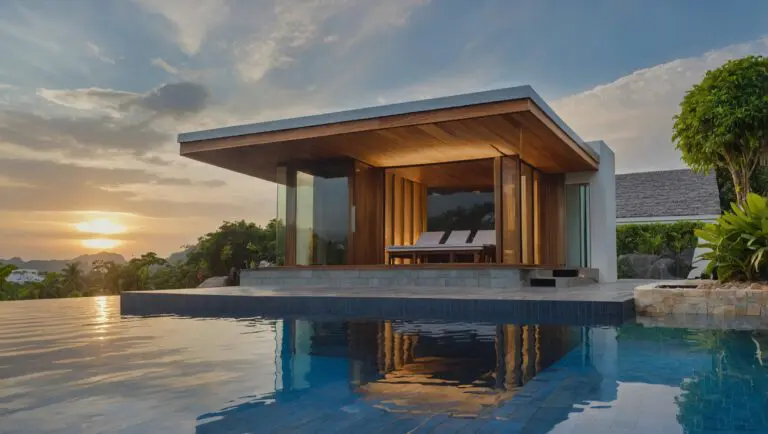
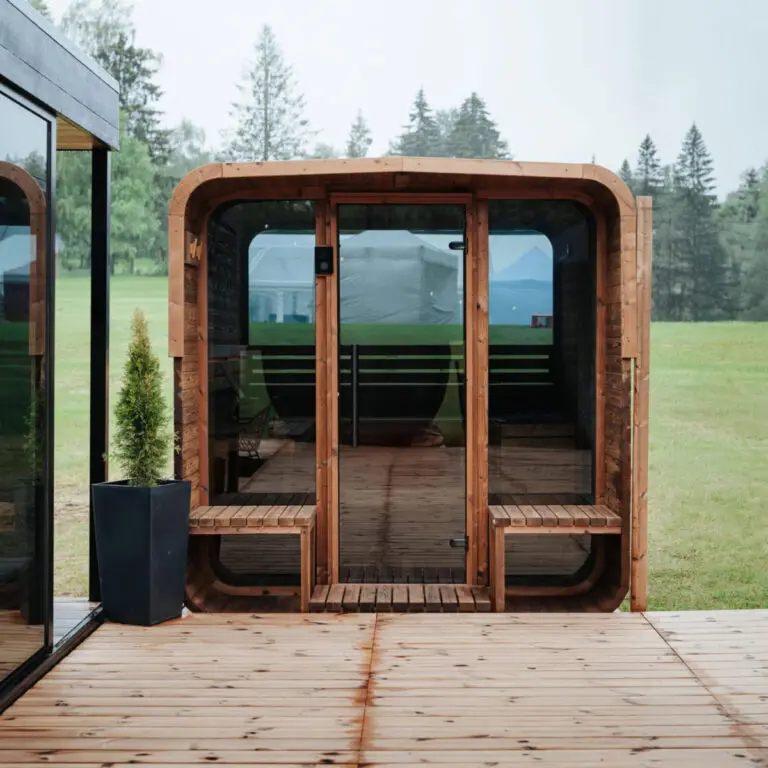
Outdoor instalOutdoor installation gives you more flexibility with size and often looks better. There’s something special about a barrel sauna in a garden. But you’ll need weather-resistant timber, a solid foundation, roof protection, and outdoor-rated electrical work itself. Consider:
Access to electrical supply: Traditional saunas need dedicated circuits; larger heaters may require three-phase power. The further from your electrical panel, the more expensive the wiring.
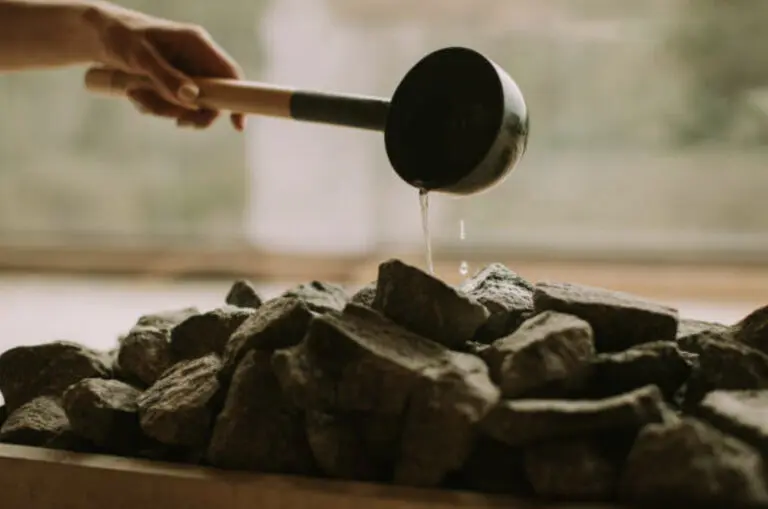
Drainage: You’ll be sweating and potentially pouring water on hot rocks. The water needs somewhere to go. Concrete pads with drainage work well outdoors; waterproof flooring is essential indoors.
Foundation: Saunas are heavy. Barrel saunas typically sit on concrete blocks or a timber frame. Indoor cabins need level, stable flooring that can handle the weight and won’t be damaged by heat or moisture.
Ventilation path: Fresh air needs to enter low (near the heater) and exit high (opposite wall). Plan this before you commit to a location.
Distance from the house: For outdoor saunas, think about how far you’ll need to walk in your towel, especially during monsoon season.
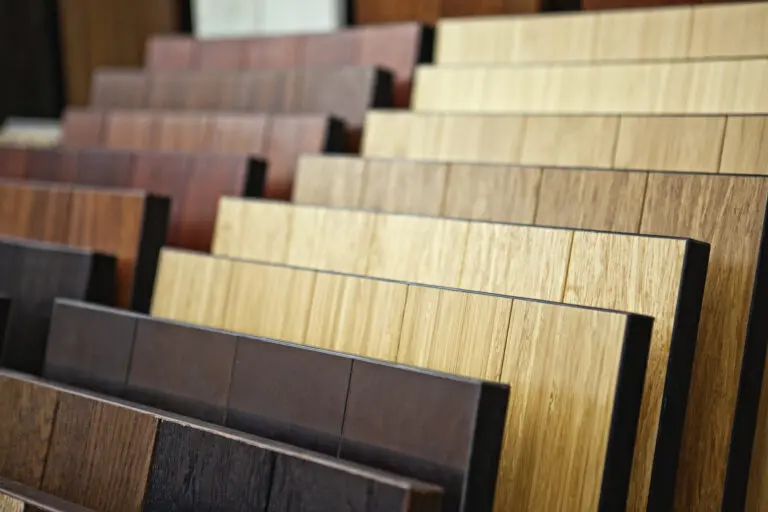
What Timber Works Best for Saunas in Thailand?
This deserves its own article (we’ve written one), but here’s the practical summary for Thailand:
Red Cedar: The gold standard for sauna timber. Naturally resistant to moisture, insects, and decay. Aromatic without being overwhelming. Handles Thailand’s humidity exceptionally well. Premium pricing, but typically worth it for the longevity.
Thermo Pine (Thermally Modified): This wood is heat-treated to remove moisture and sugars that attract pests. It’s more stable than untreated pine in humid conditions. It’s a good middle option—better than cheap softwood and more affordable than cedar.
Canadian Hemlock: Popular for infrared saunas. Light colour, minimal scent, comfortable against skin. Reasonably moisture-resistant but benefits from proper ventilation.
Spruce: Common in kit saunas, especially barrel saunas from European manufacturers. Acceptable for indoor use but needs careful moisture management outdoors in Thailand. Often the most affordable option.
Teak: If you can find A-grade teak locally, it’s excellent for outdoor saunas in Thailand because its natural oils give great weather resistance. However, genuine teak is becoming more expensive and harder to find.
What to avoid: Untreated pine (resin problems when heated, poor moisture resistance), cheap plantation timber (warps and cracks), anything without kiln drying (will move and split as it adjusts to your climate).
What Size Heater Do I Need?
Heater sizing is straightforward maths, but people get it wrong all the time.
Calculate your sauna’s cubic volume: length × width × height in metres. A 2m × 1.5m × 2m sauna is 6 cubic metres.
In Thailand, the general rule is 1.0-1.2 kW per cubic metre for home use. But it’s important to add 10-15% because of our higher temperatures. The heater has to compensate for greater heat loss than in cooler climates.
For outdoor saunas or rooms with glass panels, add another 10-15%. Glass and exterior walls lose heat faster than insulated interior walls.
Some rough guidelines:
- 2-person sauna (approximately 4-5m³): 6 kW heater
- 3-4 person sauna (approximately 6-8m³): 8-9 kW heater
- 4-6 person sauna (approximately 10-14m³): 9-12 kW heater
Barrel saunas often work better with larger, commercial-rated heaters because their curved walls have more surface area and lose heat faster.
Undersized heaters are a common mistake. They’ll technically work, but you’ll wait longer to reach temperature, struggle to maintain heat when pouring water, and wear out the elements faster. Better to have capacity you don’t always need.
What Electrical Work Is Required?
This is not a DIY job in Thailand. Always hire a licensed electrician.
Infrared saunas (1.5-3 kW) can often run on a standard 220V outlet, but a dedicated circuit is still recommended to avoid tripping breakers.
Traditional electric heaters (4.5-9 kW) need a dedicated 220V circuit with appropriate amperage. A 6 kW heater draws around 27 amps; a 9 kW heater draws around 40 amps. Your electrician will size the wiring and breaker accordingly.
Larger heaters (12+ kW) may require three-phase power. If you don’t already have a three-phase supply to your property, this adds a high cost.
All sauna electrical installations should include:
- Dedicated circuit breaker
- Appropriate gauge wiring for the heater’s amperage
- Heat-rated wiring inside the sauna cabin
- Proper grounding
- RCD (residual current device) protection
You can mount the heater controller inside or outside the sauna. Mounting it outside is usually easier and keeps the electronics away from heat and humidity. Some heaters now have Wi-Fi control, so you can start heating from your phone while you’re out.
How Do I Handle Ventilation in a Tropical Climate?
Proper ventilation does two things: supplies fresh air for breathing and the heater, and removes humid air that would otherwise condense inside the cabin.
The basic principle: air enters low, rises as it heats, and exits high.
Fresh air intake: A vent near floor level, typically behind or near the heater. This feeds oxygen to the heater and provides fresh air at bench level. The intake should be approximately 50-100 cm² for a typical home sauna.
Exhaust vent: Positioned high on the opposite wall from the heater. This allows hot, humid air to escape. It should be roughly 30-50% larger than the intake.
Many kit saunas come with adjMany kit saunas have adjustable vents already built in. If you’re building a custom sauna, plan the vents during framing. Adding ventilation later is awkward and usually doesn’t look good. Ventilation is even more critical than in dry climates. After each session, leave the door open and vents fully open to allow the cabin to dry completely. Mould and mildew are the enemies of sauna timber here.
Some people add a small exhaust fan to help dry out the sauna after use. It’s not the traditional way, but it works well in our climate.
How Much Does It Cost to Build a Sauna in Thailand?
Costs vary dramatically based on your approach:
DIY Kit Sauna (2-4 person traditional with stove): ฿120,000-220,000
Add ฿10,000-20,000 for electrical work (larger circuits required).
Add ฿10,000-20,000 for electrical work (larger circuits required).
Barrel Sauna (3-6 person): ฿150,000-350,000
Assembly assistance adds ฿15,000-30,000. Electrical and site preparation additional.
Assembly assistance adds ฿15,000-30,000. Electrical and site preparation additional.
Custom-Built Sauna Room: ฿250,000-800,000+
Highly variable based on size, materials, and finishes. Includes design, construction, and installation.
Highly variable based on size, materials, and finishes. Includes design, construction, and installation.
Beyond the sauna itself, budget for:
- Electrical installation: ฿5,000-30,000 depending on complexity
- Foundation/site preparation: ฿10,000-50,000 for outdoor installations
- Delivery: Often included; remote locations may incur fees
- Accessories: Bucket, ladle, thermometer, lighting — ฿5,000-15,000
The mistake I see most often is people budgeting for the sauna but forgetting about the other costs. A ฿150,000 sauna that also requires ฿50,000 in electrical work and ฿30,000 for site preparation brings the total project cost to ฿230,000.
What’s the Realistic Timeline?
According to Sisu Sauna, custom sauna builds usually take 3 to 6 weeks from design approval to delivery, and installation is typically completed within 1 to 2 days.
Kit saunas typically have an 8-10 week lead time from order to delivery, depending on stock and shipping. Assembly takes 1-2 days once it arrives.
Barrel saunas follow a similar timeline, but assembly is more involved — budget 2-3 days with help.
Custom builds vary enormously. Design and planning might take 2-4 weeks. Construction typically takes 2-6 weeks, depending on complexity and contractor availability. The total timeline from the first conversation to the first session is often 6-8 weeks.
In Thailand, contractor schedules can be unpredictable. Add some extra time to your plan, especially during busy seasons like October to February, when the weather is best for building. You Build It Yourself? (The Honest Answer)
Here’s my honest take after watching hundreds of sauna projects in Thailand:
Assembling a sauna kit is achievable for most reasonably handy people. If you can assemble flat-pack furniture and follow instructions, you can probably put together a kit sauna. The panels are designed to slot together; the challenge is more about patience and having a helper than technical skill.
That said, electrical work should always be done by a professional. Don’t cut corners here; it’s important for both safety and legal reasons.
Barrel sauna assembly is more challenging. The curved staves need to align properly, the metal bands need correct tension, and the roof requires more construction skills. Most people hire local help for at least part of this process.
Custom builds require professional involvement unless you have genuine construction experience. Framing, insulation, vapour barriers, and waterproofing all need to be done correctly, or you’ll have problems within a few years.
The real question isn’t “can I build this?” but “should I build this, considering my time, skills, and patience?”
If you like hands-on projects and have a weekend or two free, putting together a sauna kit can be rewarding. If your time is limited or you’d rather not spend your weekend on instructions before you even use the sauna, hiring a professional is worth it.
Either way, the end result is the same: a sauna in your home, ready to use whenever you want. That’s the goal.
What About Support During Assembly?
Good suppliers support you through the whole process. They offer phone and video calls to help with problems, English-language manuals, and quick customer service when you have questions.
Ask about support before you buy. Some sellers disappear after taking payment. Others are genuinely invested in helping you succeed because they know a happy customer becomes a referral source.
For kit saunas, look for suppliers who’ve actually assembled the products themselves and can walk you through specific challenges. For custom builds, visit completed projects, if possible, to see the quality of workmanship.
How to Build a Sauna at Home in Thailand
Building a sauna at home in Thailand is absolutely achievable. Thousands of people have done it successfully, from simple infrared cabins in Bangkok apartments to elaborate outdoor saunas at resort properties.
The keys are realistic expectations, appropriate materials for the climate, and professional help where it matters (especially electrical work).
Start with your goals: What type of sauna experience do you want? How much space do you have? What’s your realistic budget, including infrastructure? How hands-on do you want to be in the process?
From there, things get clearer. If you’re still unsure, that’s what consultations are for. A good supplier will help you find what works for you, rather than just selling you the most expensive option.
The best sauna is the one you’ll actually use. Get that right, and the construction details become just steps along the way.
Frequently Asked Questions
How much does it cost to install a sauna at home in Thailand?
Expect to spend ฿90,000-180,000 for a quality kit sauna, ฿150,000-350,000 for a barrel sauna, or ฿250,000-800,000+ for a custom build. Add 10-20% to your sauna budget for electrical work, site prep, and accessories. If you’re considering installing a sauna in your Bangkok condo, you can take advantage of complimentary consultation services from Sisu Sauna to help you understand the process and make informed decisions about your investment.
Yes, compact infrared saunas work well in condos. You’ll need adequate electrical capacity (most infrared saunas run on standard 220V), proper ventilation, and building management approval. Traditional saunas are possible but less common in condos due to higher power requirements and humidity management concerns.
How long does a sauna last in Thailand’s climate?
A quality sauna with appropriate timber (red cedar, thermo pine, or properly treated spruce) and good maintenance can last 15-20+ years. Cheap materials or poor ventilation can lead to problems within 2-3 years. According to Sauna.in.th, you can access free consultation services to help determine the requirements, including any necessary planning permission, before installing a sauna in Thailand.
The ongoing electricity cost for a home sauna in Thailand falls under the residential electricity tariff, which applies to household usage according to the official tariff schedule.
A typical home sauna session (20-40 minutes, including heat-up) uses roughly 4-8 kWh, depending on the heater size and insulation quality. At current Thai electricity rates, that’s approximately ฿15-35 per session. Used four times weekly, expect ฿250-600 added to your monthly bill.

Who is the Author?
Co-Author: Pat, Co-owner, Design & Construction
Pat is Finnish, and he has been building saunas most of his life. He grew up in a culture where sauna isn’t a luxury — it’s as essential as a bathroom.
Pat (Co-owner of Sisu) oversees design and construction of all Sisu’s custom-built saunas, bringing authentic Finnish techniques and an uncompromising eye for quality to every project. When it comes to timber selection, heater placement, or ventilation design, he’s the authority.